AOI Machine for Auto Parts Appearance Defects
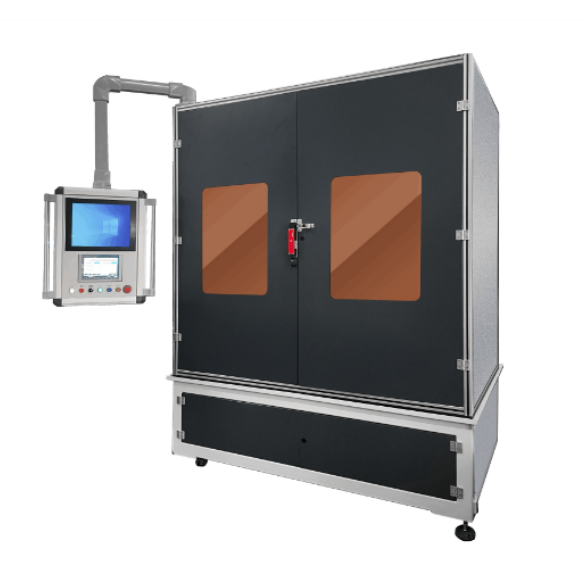
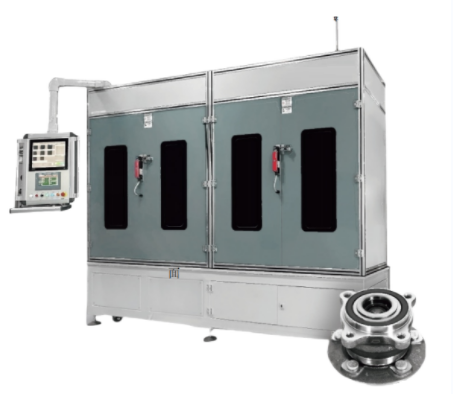
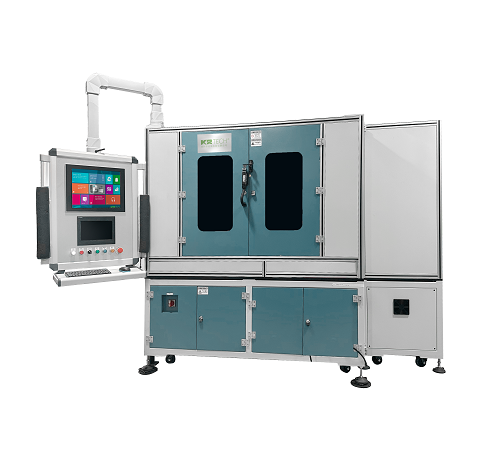
The Automatic Optical Inspection Machine for Auto Parts Appearance Defects is mainly used for detecting medium and small auto parts such as disk, the gear ring, valve seat, oil-retaining bearing, piston pin and the ball bearing, which covers detection of chipping of both ends, injury on face, dislocation, cracks, etc. The minimum detection diameter is up to 5mm. Inspecting speed has reached the national leading level with highest speed up to 20,000 pcs/per hour, which is equivalent to 2-4 skilled workers operating simultaneously. And it can be applied to powder metallurgy, precision ceramics, electronic components and other industries.
 Machine Vision
 Bearing
 AOI Machine for Roller Appearance Defects(Choyo-R41) AOI Machine for Needle Roller Appearance Defects(Choyo-R21) AOI Robot for Big Roller Appearance Defects AOI Robot for SRB Bearings Appearance Defects AOI Robot for Big Roller Appearance Defects AOI MACHINE FOR Wheel Hub Bearing Appearance Defects AOI Machine for Bearing Ring Appearance Defects AOI Machine for Sealing Ring Appearance Defects AOI Machine for Bearing Dust Shield Appearance Defects AOI Machine for Bearing Appearance Defects Automatic Feeding Machine for Bearing Rollers Automatic Oiling Machine for Bearing Rollers Automatic Washing & Drying Machine for Bearing Rollers AOI ROBOT FOR BALL BEARING APPEARANCE DEFECTS


